Autoterm Air Diesel parking heaters (Planar)
The Autoterm Air 4D air heater powered by diesel has become an indispensable part of campers, mobile homes and expedition vehicles. They were designed for continuous use and work extremely safely and reliably. With a low fuel and power consumption, they heat small and large travel vehicles easily controllable on land as well as on the water.
With an existing E-mark, the installation of the heating does not require a TÜV approval or registration. The installation itself can also be carried out by laypeople while the camper is being removed without loss of guarantee *. Of course, our installation partners are also happy to take on this work if required.
(* The installation must be carried out professionally and in accordance with the manufacturer's installation instructions.)
Suitable for every type of vehicle
The Autoterm Air 2D is available for vehicles with 12 V on-board voltage as well as for vehicles with 24 V, such as truck-based expedition vehicles.
For every travel destination - the altitude kit
A travel vehicle with an Autoterm Air is not only perfectly equipped for very cold weather - great heights are also no problem. In the past, the lower oxygen supply in the combustion air quickly led to soot in the combustion chamber. In the meantime, the heaters have been equipped with an altitude kit that regulates the combustion. Depending on the ambient air pressure, the heater automatically adjusts the amount of fuel injected downwards.
We at tigerexped are proud to have initiated and helped to develop this innovation at the manufacturer, because the wishes of our customers are our command ;)
Is there still a "too high"?
After our own, successful tests at a height of 3440 m on the Pitztal glacier, the altitude kits went into series production. In the meantime, our customers have traveled with it all over the worls. Fabian for example, with his "Tornado on Tour". He tested the heater (which at that time was still called Autoterm Planar 2D) in his VW T3 bus in Chile at 5032 m - only in Tibet you can go higher.
Even at this extreme height, the Air 2D altitude kit did a great job. Fabian captured his test with a camera. Watch it here on Youtube.
So you can be sure that your heating won't let you down when it gets flaky up there.
But note:
Despite the altitude kit, the operation of a diesel parking heater (like a diesel engine in a vehicle) represents a technical compromise. In the long term, you have to ensure that the combustion chamber gets really hot again and can thus be burned free. Otherwise sooting cannot be avoided even with the altitude kit.
If you actually spend the night at 4000 m for several weeks, cleaning the combustion chamber and replacing the seals is possible and reasonable in terms of effort.
Burning off soot (also) at low altitudes
Burning off soot is the most important and, at the same time, only required maintenance of the heater. As at high altitudes, the combustion chamber must also be given the opportunity to get rid of incipient soot at normal altitudes.
Sooting generally occurs when the heating is running on a low power level. Therefore, let your heater run at full power for half an hour every 1 - 2 weeks.
Imagine the combustion chamber of your heating system like the engine of a diesel car - if it was only driven at low speeds, sooting must also be burned off with a decent drive on the motorway. The same applies to the combustion in the heater.
Important when operating at high altitudes
Lower maximum Output
At higher altitudes, the heater receives less air and, accordingly, less fuel. Accordingly, the maximum output of the heating decreases with increasing altitude. Roughly speaking: from 2000 m you lose approx. 5 % of performance for every 500 m.
Air intake - warm air outlet
Important: The clearance of the fan is of particular importance at great heights. It would be best to run the parking heater without hot air piping or just use a VERY simple one.
The combustion air intake and the exhaust pipe should be extremely short and with little resistance. Avoid kinks, blockages or reductions.
Control Panel
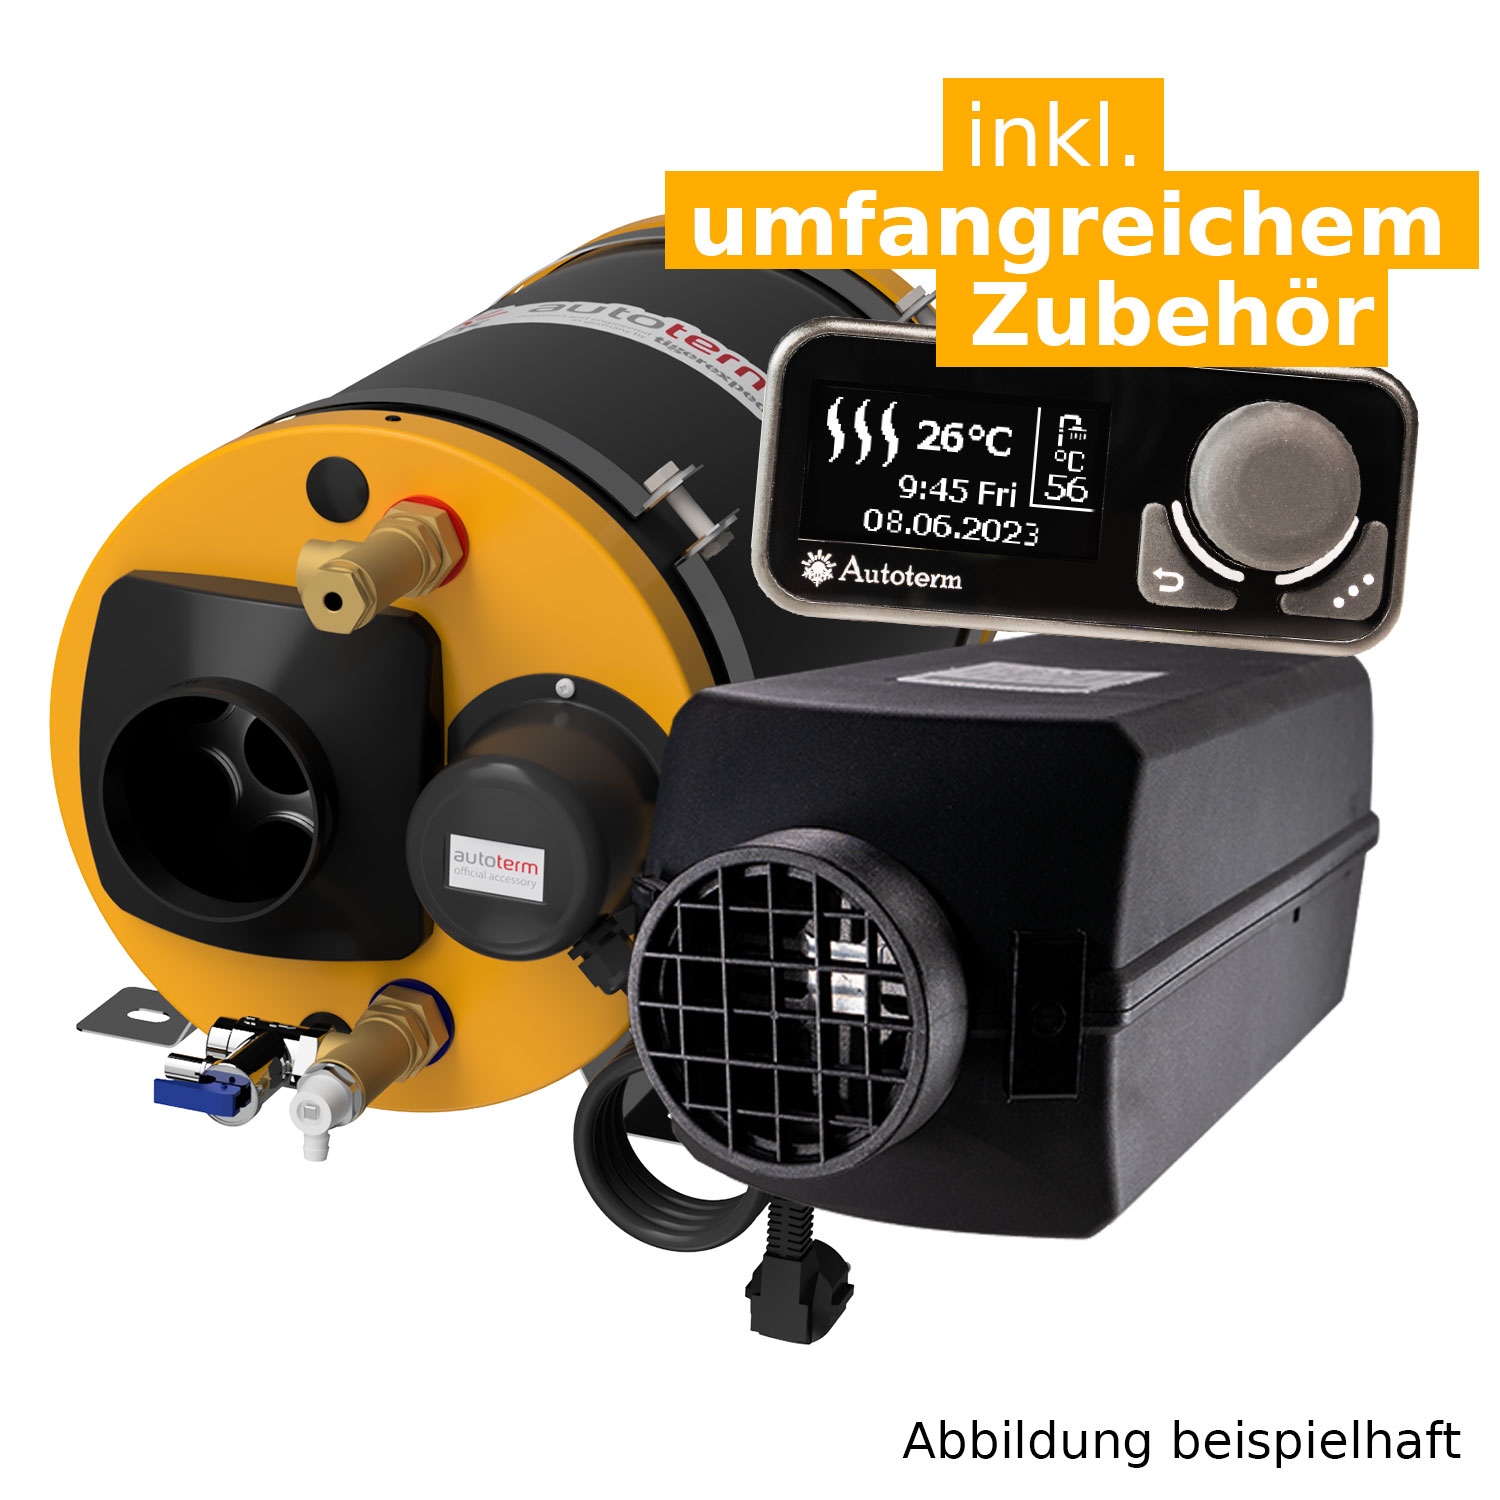
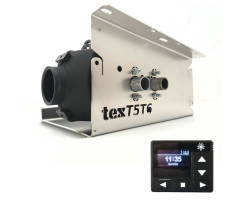
Digital OLED Control Panel that allows both, temperature control and the setting of a desired power level.
The menu navigation of the OLED Control Panel is currently only available in English and Russian.
Temperature sensor
The OLED Control Panel has an integrated temperature sensor. The cable of the control unit is 1.8 m long ex works. If it cannot be installed in a sensible place for temperature measurement, please order the external sensor and switch the temperature control to By_T_Air in the display.
Remote Control
The heater has an extra switching input on the wiring harness so that you can connect your own remote control. All you have to do is connect two cables using switches or relays. This happens either permanently, then the heating starts and runs until the connection is interrupted again, or with an impulse. A key pulse of 0.5-3 s length can be used for switching on. The next impulse would switch the heating off again.
The advantage of the second variant is that you then also have the option of controlling the heating with various control elements. So, for example, switch on with a self-made remote control or a button, then later adjust the power level from bed with the supplied control element or even switch it off.
E-mark
All Autoterm heaters have an E-mark (e2). They can therefore be installed without registration, an approval by TÜV is not necessary.
Scope of delivery
Everything you need to install the Autoterm 2D is already included in the scope of delivery.
- Heater 12V
- OLED Control Panel (cable length 1.8 m)
- Autoterm fuel pump "Extra Quiet"
- Exhaust silencer (17 x 9 x 5 cm)
- Rubber holder for dosing pump
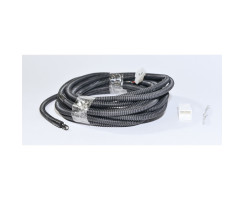
- Metering pump wiring harness
- Wiring harness heater
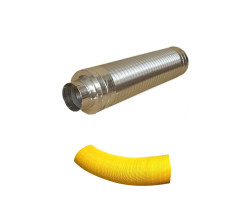
- Air intake hose with integrated silencer
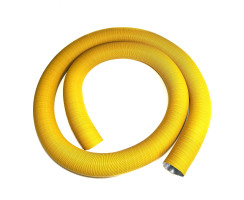
- Heat protection hose
- End piece exhaust pipe + clamp
- Tank suction pipe
- 5.5 m fuel line
- fuel line connector
- 1 m metal corrugated exhaust pipe
- Screws, nuts, clamps, shrink tubing, cable ties
- operation Manual
Watch out:
The scope of delivery includes a fuel hose as a line connector. The included length is usually completely sufficient when shortened to suitable pieces. If, contrary to expectations, you cannot manage with it, you can reorder the hose under item number 35612.
Dimensions:
Length: 33 cm
Height: 12 cm + 2.5 cm connectors
Depth: 12 cm
Weight of the heater without accessories: 2.86 kg
Optional:
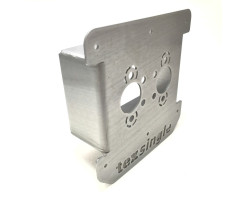
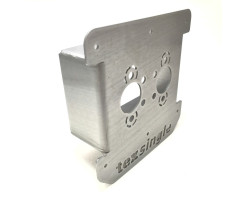
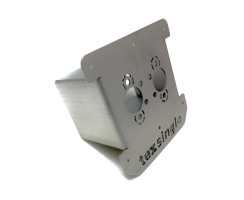
For easier installation that also thermally decouples the heating, take a look at our matching installation flanges or choose one of our completely assembled installation-kits.
Optional fuel tanks are available for a fuel supply that is not drawn from the vehicle tank.
Installation
The installation may be carried out by laypeople without loss of guarantee. So you are not obliged to have the parking heater installed by a Workshop.
When replacing Eberspächer or Webasto parking heaters
The pattern of the Autoterm heaters corresponds to that of the well-known parking heaters from Eberspächer and Webasto. A simple exchange can take place without having to drill new holes in the body of your car.
Autoterm Air 2D or 4D for double the performance?
You are here at the Autoterm Air 2D with 2 kW heating power. The Autoterm Air is also available as a 4D variant with 4 kW heating output in 12 or 24 V. Which dimensioning is right for you depends on your travel behavior, your destinations and the isolation of your vehicle. More is not = better in this case, even if the heating with twice as much output costs only marginally more!
4 kw turn smaller campers into a sauna very quickly, even at the lowest level, and you have to open the window when heating. This is not only completely unnecessary, it also makes your heating soot faster (see topic above).
If in doubt, choose the smaller heater and let it run at a higher level than always operate the large heater at the lower end of the scale!
Warmwasser geplant?
Wenn du neben einem Heizgerät auch Warmwasser in deinem Camper installieren möchtest:
Die Autoterm Heizungen gibt es in Kombination mit Warmwasserboiler und speziellem Bedienteil für volle Systemintegration.
Mehr Infos dazu:
manufacturer information:
AUTOTERM SIA
Paleju street, Marupe 72
Riga, 2167
Marupes nov., LV
sales@autoterm.com
responsible person:
AUTOTERM SIA
Paleju street, Marupe 72
Riga, 2167
Marupes nov., LV
sales@autoterm.com
max. power: |
2kW |
Voltage: |
12V |
control: |
OLED Control Panel |
Item weight: |
5,70 kg |
All reviews:

